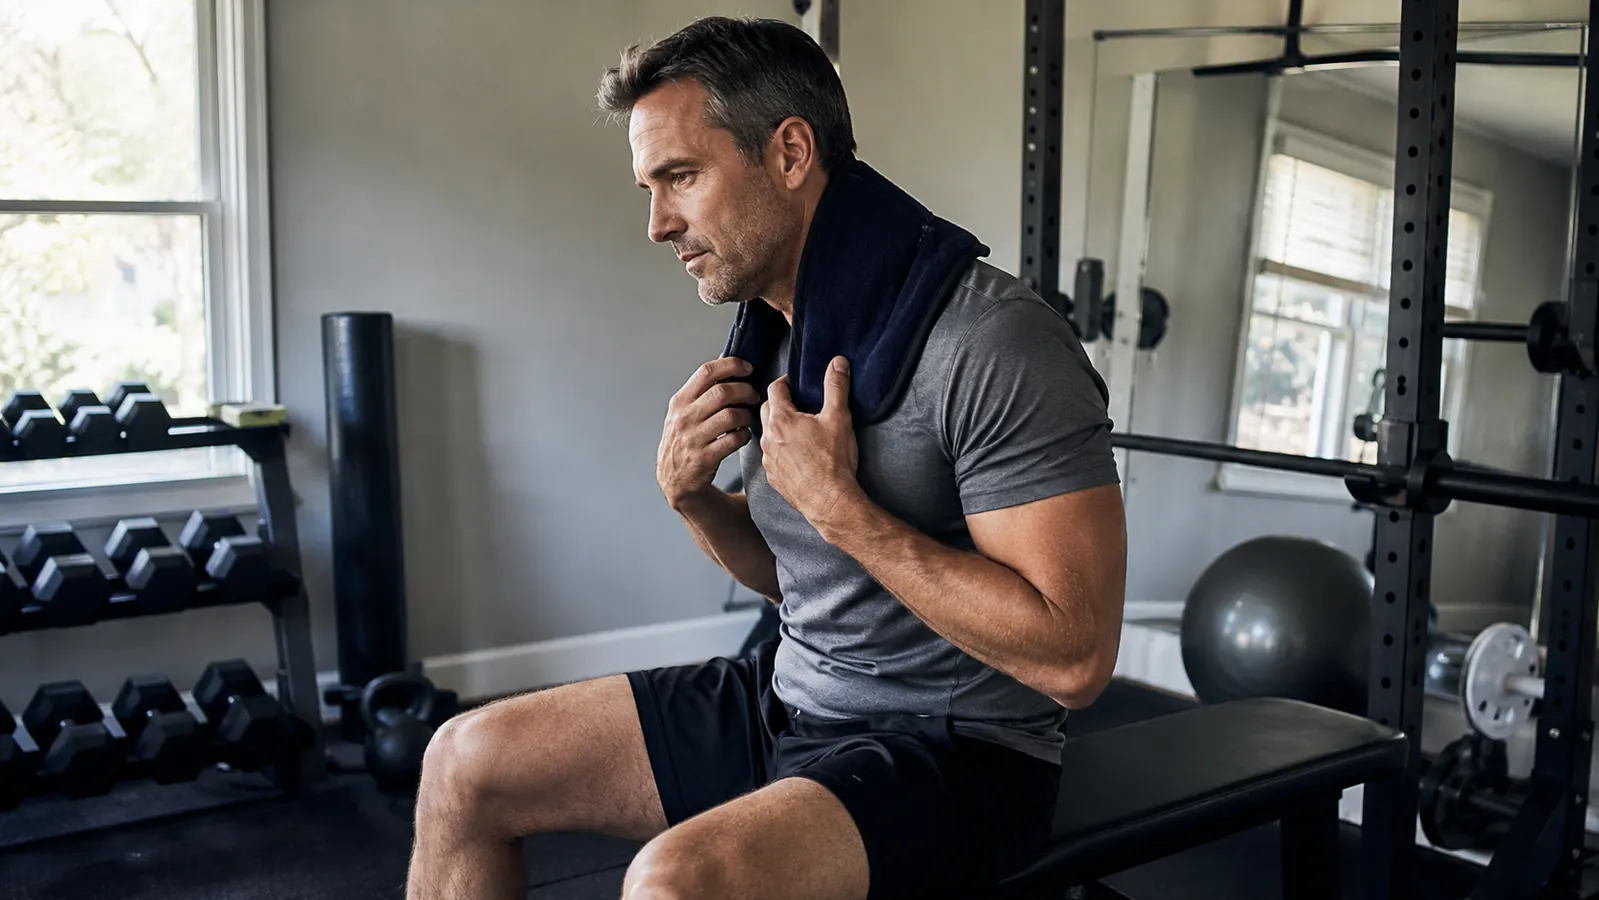
You finish a hard workout, your neck is knotted, your lower back is talking to you, and someone mentions heat therapy. So you grab whatever is in the medicine cabinet, throw it on the sore spot, and wait. Two days later the tightness is still there and you write off heat as a myth. The problem usually is not the heat. It is the timing, the placement, or a pad that loses its temperature inside of ten minutes. Heat therapy works when you apply it correctly, and this guide walks you through exactly how to do that.
I have been using structured heat sessions as part of my recovery routine for about three years now, mostly on neck and upper back tightness from a job that keeps me at a standing desk for hours before I ever get to the gym. What follows is not theory. It is the actual protocol that eliminated the persistent knots I used to carry into every Monday morning session.
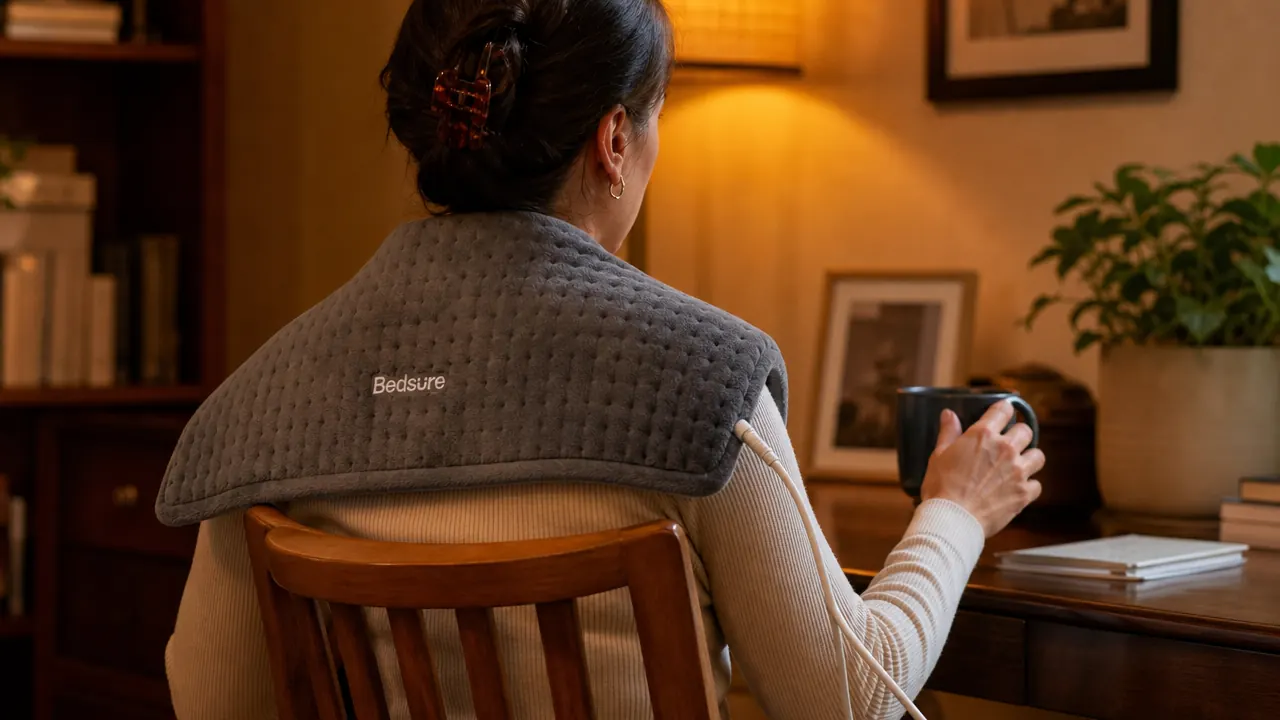
If you want a heating pad that holds steady heat and adds vibration for deeper tissue release, the Bedsure Weighted Heated Pad is the one on my desk right now.
It covers the full neck, shoulder, and upper back area, has six heat settings, and the weighted design keeps it from sliding off mid-session. Rated 4.2 stars from more than 3,000 verified buyers.
Amazon Check Today's Price on Amazon →Step 1: Wait for the Acute Phase to Pass
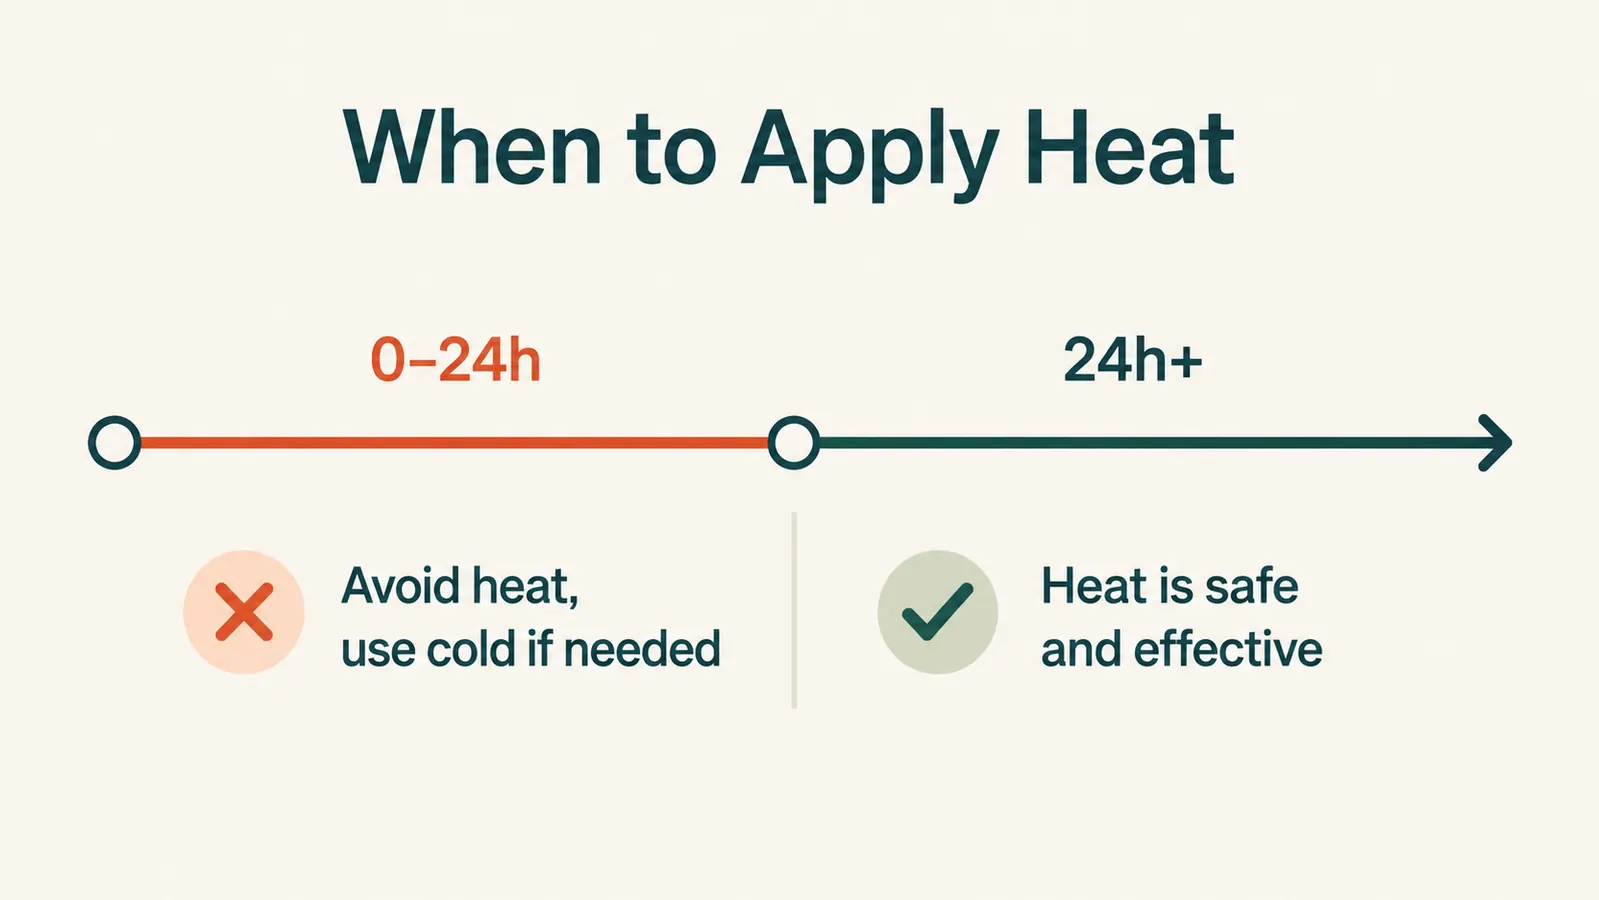
This is the step most people skip, and it is the one that makes everything else fail. Heat increases blood flow and tissue temperature. In the first 24 to 48 hours after a hard session or an acute strain, increased circulation can amplify swelling and slow the early stages of tissue repair. Heat in that window feels good briefly and then the area feels worse.
The rule I use: if the area is still visibly swollen or feels warm to the touch on its own, skip heat entirely and use cold if anything. Muscle soreness that arrived a day or more after training, meaning the classic delayed-onset stiffness and dull ache, is the correct target for heat. Acute injuries with swelling are a different category and heat is not the right tool there.
Most of the muscle groups that respond best to heat therapy for everyday training recovery are the neck, upper back, trapezius, lumbar muscles, and hamstrings. These areas hold tension for long stretches and rarely present with true swelling after normal hard training. They are almost always safe territory for heat after the first 24 hours.
Step 2: Choose the Right Temperature and Coverage
Not all heat is the same. There is a meaningful difference between a thick, weighted pad that holds its temperature for a full 20-minute session and a thin drugstore pad that gets hot quickly, drops off in five minutes, and has to stay near an outlet the entire time. The goal of heat therapy is sustained warmth over 15 to 20 minutes, not a quick blast that the tissue barely registers.
For neck and upper back work, I use the Bedsure heated pad. It covers the neck and shoulder blade zone in one piece, runs six heat settings, and the weighted fill keeps it draped over the muscle group instead of slipping down your back every two minutes. The vibration function is worth mentioning separately because adding gentle mechanical movement to heat accelerates the loosening effect in a way that passive heat alone does not match. I use a medium heat setting with low vibration for most sessions.
If you are applying to the lower back or hamstrings, flat electric pads work, but coverage matters. A pad that is too small leaves half the muscle group cold and creates an uneven release. Aim for a pad that covers at least the full width of the target muscle. For lumbar work that often means a pad wider than 12 inches.
Step 3: Position the Pad Correctly for Each Muscle Group
Heat works on whatever tissue it directly contacts. If the pad is an inch off from where the tension lives, you will get mild warming but not the release you are after. Here is how I position for the three muscle groups where heat makes the biggest difference in training recovery.
Step 3a: Neck and Trapezius
Sit upright in a chair, not slouched on a couch. Drape the pad so the top edge sits just below the base of your skull and the sides come forward onto the upper trap. The weight of the pad should rest on the muscle, not be held in place by you. If you have to hold it there, the coverage is wrong. The Bedsure sits like a collar when positioned correctly and holds without you touching it.
Stay upright. Dropping your chin onto your chest during a heat session can create a position that pulls on already tight suboccipital muscles and leaves you feeling worse than when you started.
Step 3b: Upper and Mid Back
Sit with your back against a chair back and position the pad between your spine and the chair. Let the chair back press the pad gently against the muscle. This gets the heat into the erector spinae and rhomboid area without requiring you to hold anything. Session length here: 15 to 20 minutes at medium heat.
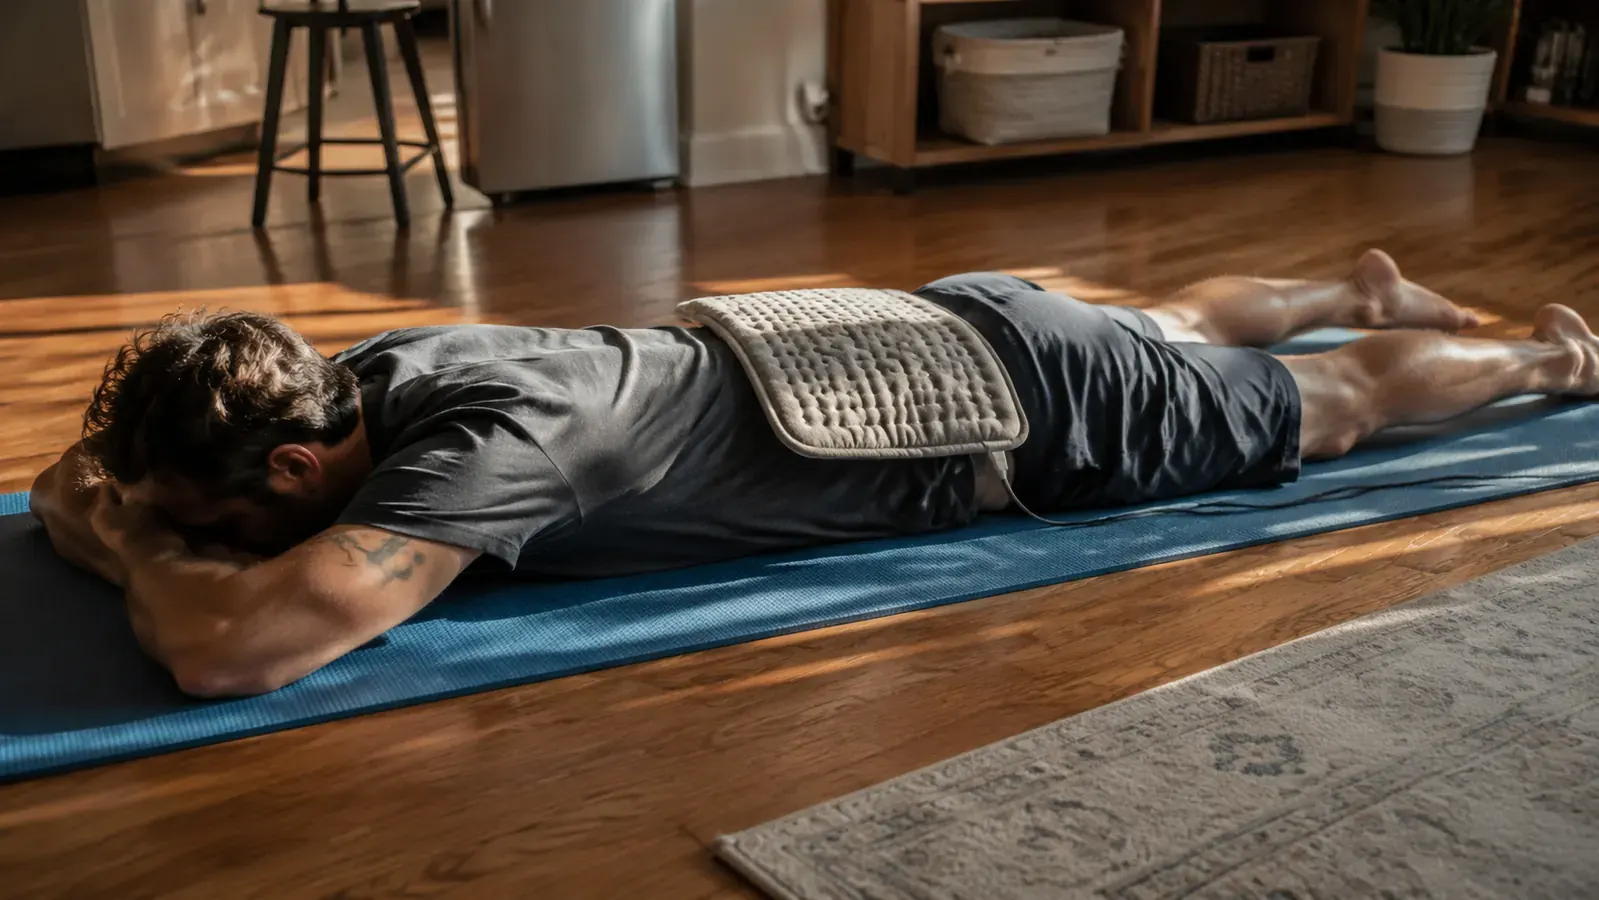
Step 3c: Lower Back and Hamstrings
For lower back work, lying face-down on a flat surface with the pad underneath you works well. Gravity keeps it in contact with the lumbar muscles and the even pressure mimics the effect of a light massage. For hamstrings, position the pad on the back of the thigh while seated or lying prone. Fifteen minutes is enough here; hamstring tissue is dense and responds well even to shorter sessions.
Step 4: Run the Session for the Right Amount of Time
Fifteen to twenty minutes is the target window for most heat therapy sessions. Less than that and the deep tissue temperature never rises enough to make a meaningful difference. Beyond 30 minutes of continuous heat on the same area you risk skin irritation, and some people experience rebound tightness when the tissue cools after an overly long session.
Fifteen to twenty minutes of steady heat does more for tight muscles than an hour of lukewarm heat that keeps dropping off. Consistency of temperature over time is the variable that actually matters.
Set a timer. This sounds obvious but I have fallen asleep more than once with a heating pad on and woken up to a skin redness that took two days to settle. Most quality pads like the Bedsure have an auto-shutoff, but do not rely on it as your only safeguard. The auto-shutoff on that pad triggers at two hours, which is far longer than any recovery session should run.
I typically run heat sessions right after a post-workout shower, when the body is already warm and the muscle tissue is more receptive. The transition from shower heat to pad heat is seamless and the session tends to produce a faster release than applying cold heat to a cold, contracted muscle.
Step 5: Pair Heat With Gentle Movement for Better Results
Heat loosens tissue. Movement uses that loosened tissue and locks in a greater range of motion that carries over into the next training session. Applying heat and then immediately going back to sitting locked in the same position for two hours wastes most of the benefit.
What I do after a neck and upper back session: ten slow chin-to-chest rolls and ten ear-to-shoulder tilts, moving only as far as comfort allows. For lower back sessions, three minutes of gentle cat-cow on a mat immediately after the heat finishes. For hamstrings, a supine hamstring stretch held for 30 seconds per side. None of this is intense. The point is to move the now-warm tissue through its range before it cools and resets.
If you use a stretching strap for hamstring and hip work, this is the exact moment to pull it out. Warm tissue lengthens faster and more comfortably than cold tissue, and the gains from the stretch are more likely to carry over. The combination of 15 minutes of heat followed by five minutes of assisted stretching delivers more flexibility progress than either alone.
What Else Helps Alongside Heat Therapy
Heat is one tool. Active adults who recover fastest tend to layer a few things together rather than relying on one modality. Hydration before and after the session matters more than most people account for. Dehydrated muscle tissue does not respond as well to heat because there is less fluid available to carry the warmth through the tissue. Drink 16 to 20 ounces of water before a heat session if you finished your workout more than an hour ago.
Sleep is the other one. Heat therapy sessions right before bed work well for some people because the drop in body temperature that follows the session triggers sleep onset faster. If you are waking up stiff, try a 15-minute heat session on the tight area about 30 minutes before you plan to sleep. The combination of loosened muscle tissue and the sleep-promoting temperature drop is real and worth testing.
For people who train more than four times a week and carry chronic tightness in the same spots repeatedly, alternating heat and cold can help. Cold after training on the same day, heat the following morning before the next session. That pattern reduces acute inflammation from the prior session while preparing the tissue for the next one.
The Bedsure Pad: Why It Fits This Protocol Well
I want to be clear that the protocol above works with any quality electric heating pad that holds a steady temperature. The reason I keep coming back to the Bedsure weighted pad for neck and upper back work specifically is the shape and weight. Most flat rectangular pads either slide off a shoulder or have to be held. The Bedsure drapes naturally over the neck and traps because it has enough weight to stay in contact with the muscle, and the curved shape fits the neck-to-shoulder transition.
The six heat settings give enough range to start low and step up as the tissue relaxes. I start at setting two or three and usually move to four or five by the midpoint of the session. The vibration function, even at the lowest level, does noticeably more than heat alone for releasing the knots that sit in the upper trap after a heavy overhead session.
At a current price under $40, it is one of those tools that costs less than a single sports massage session and pays for itself inside the first two weeks if you are using it consistently. The trade-off is that it is not portable. It needs an outlet, which means it is a home or desk tool, not a gym bag item. If you need something portable, a microwavable pad works for single sessions away from home, but it does not hold heat long enough for a full 20-minute session the way the electric version does.
If you want a longer look at how it holds up over months of daily use, the full review covers durability, the auto-shutoff behavior, and the one thing the product page does not mention about the vibration noise at higher settings. You can read it at the Bedsure Heating Pad long-term review. And if you are still on the fence about heat versus ice for the kind of everyday soreness that follows a normal hard session, the 10 reasons heated massage beats ice for post-workout soreness covers the practical reasoning behind when each one earns its place.
Ready to run your first proper heat session? The Bedsure Weighted Heated Pad is the tool that makes the protocol above easy to stick to.
Six heat levels, vibration, full neck-to-shoulder coverage, and a weighted design that stays in place. See current pricing and reviews on Amazon.
Amazon Check Today's Price on Amazon →